We've sent you an email with a link to update your password.
Reset your password
We will send you an email to reset your password.
Acoustic wood Panel Installation Instructions
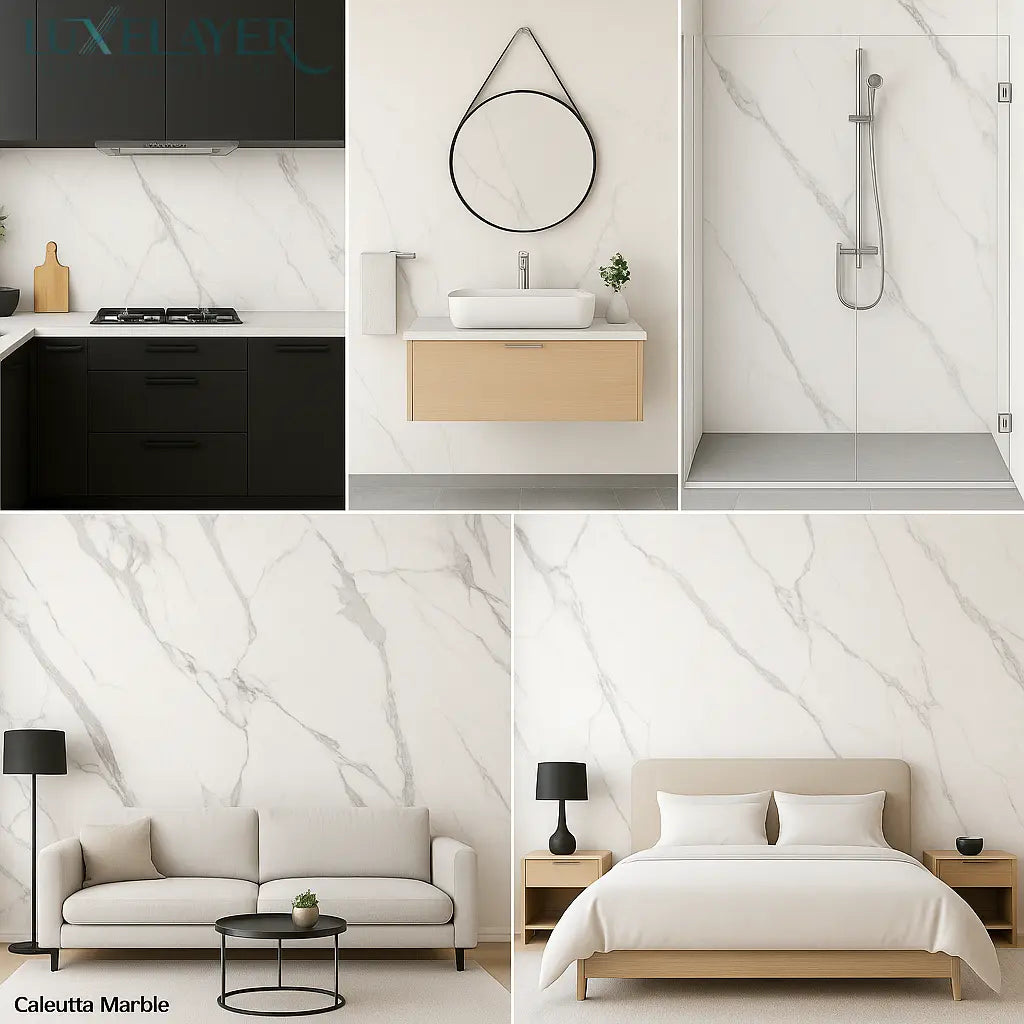
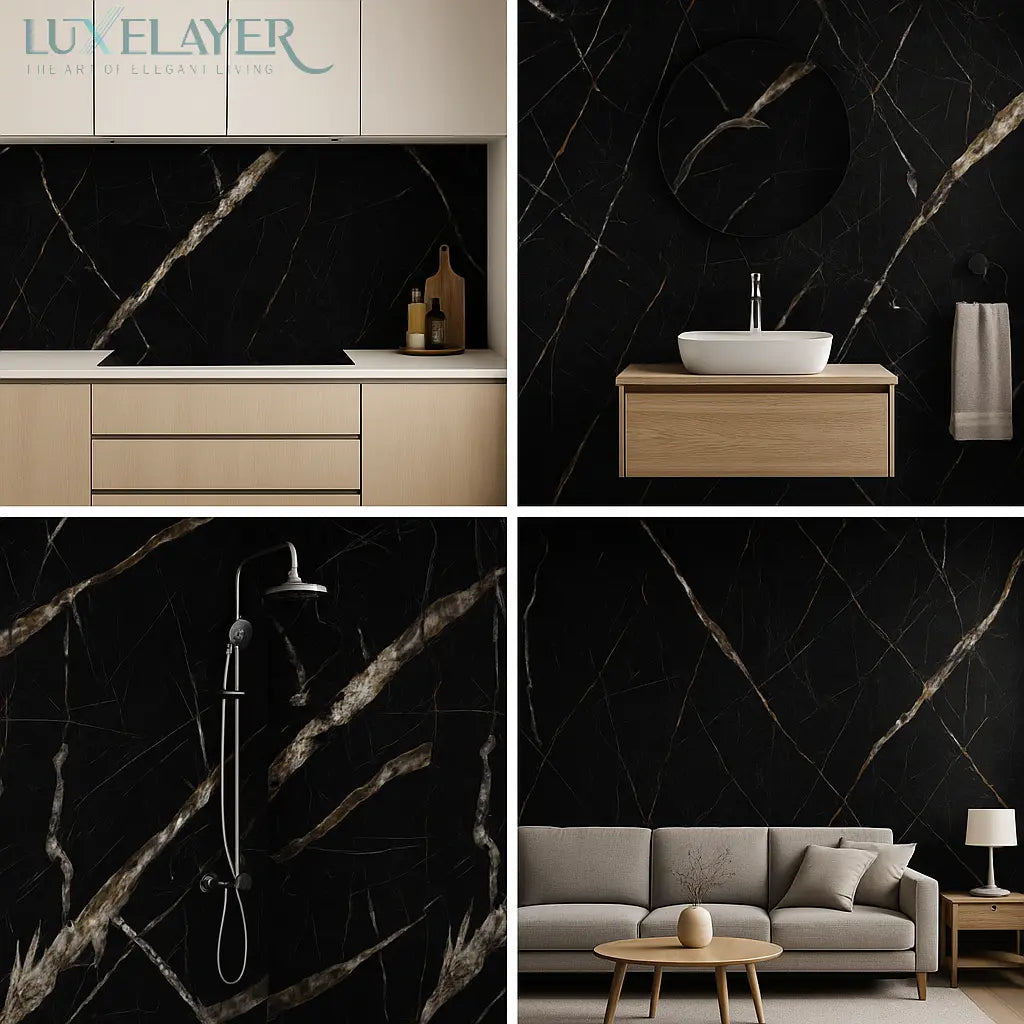
Create a ‘Luxury style’ unique space in your home, office, garden room or any other internal area in hours with myluxelayer range of acoustic wood wall panels following our easy to follow installation guide.
Before you start installation
• Measure the area the panels are to be installed and decide on the layout and design. • Ensure enough panels are purchased to cover – due to the natural wood veneer of the panels, colour variations amongst batches may be noticeable. • Remove any screws, nails or other fixings, fill any holes and sand down to give a smooth surface. • Ensure the installation surface is clean of any dirt or debris using a damp cloth. Allow the area to dry thoroughly.
Important Notes:
Use a FINE-toothed saw for cutting slats of panels
Use a sharp utility knife for cutting felt backing of panels
Use black 35mm screws
If using battens, these should be 45mm fitted at 45cm centres
45mm Insulation roll can be used between battens for better acoustic performance
For ceilings screw directly into joists
If adding fixtures & fittings (e.g. shelves/TV brackets) drill through the panel and sub-wall and use appropriate fixings
Intricate cuts for sockets, light switches etc. should be made using an electric jigsaw or multi-tool.
Installation Using liquid nail adhesive
1Measure the height of the installation wall. If panels need to be cut, mark the panels using a pencil and square edge (remember measure TWICE, cut once!) Cut the panels to size using a FINE-toothed handsaw or circle saw with FINE-Tooth. If the panels also need to be cut down in width, a sharp utility blade can be used to cut through the felt backing.
2Using a liquid nail adhesive and caulk gun, apply adhesive to the back of the panel keeping adhesive a minimum of 50mm from the edges of the panel ensuring the whole panel has an even coverage to ensure good adherence to the surface.
3Measure the height of the installation wall. If panels need to be cut, mark the panels using a pencil and square edge (remember measure twice, cut once!) Cut the panels to size using a FINE-toothed handsaw or circle saw with FINE-Tooth. If the panels also need to be cut down in width, a sharp utility blade can be used to cut through the felt backing.
4Install the second and subsequent panels using the easy install card slot system to maintain a uniform finish. Continue until all panels are in place.
Installation Using Screws
1Measure the height of the installation wall. If panels need to be cut, mark the panels using a pencil and square edge (remember measure TWICE, cut once!) Cut the panels to size using a FINE-toothed handsaw or circle saw with Fine- tooth. If the panels also need to be cut down in width, a sharp utility blade can be used to cut through the felt backing.
2Mark fixing points on the install surface in 5 rows of three approximately 575mm apart and ensure the outer fixing points are a minimum of 50mm in from the panel edge. Drill and insert appropriate fixings. Using black 35mm screws, fix the panel to the surface.
3Install the second and subsequent panels using the easy install card slot system to maintain a uniform finish. Continue until all panels are in place.
For Better Acoustic Performance (up to Class A)
To improve the acoustic performance, install panels onto fixed battens.
LuxeLayer recommend 45mm deep battens fixed at centres. The panels can be screw-fixed directly using black 35mm screws.
To further enhance the acoustic performance, a 45/50mm mineral wool insulation can be inserted into the cavity.
Verified
Cookie Policy
This website uses cookies to ensure you get the best experience on our website.
Read Privacy