

Cart
0
Tips & Tricks
Installation Guide
When installing panels on a wall or surface frame without a solid sub-structure, you might need to incorporate a few wall studs or include a layer of MDF or Plywood beneath the panel for sufficient rigidity. It is recommended to take into account the following considerations during the planning and design phase of your project.
Installation Guide - LuxeLauer Wall Panels
Whether you are a professional or a DIY enthusiast, installation is simple. Just follow the steps outlined below and finish off your project with the paint color of your choice.
Preparation
Tools & Surfaces
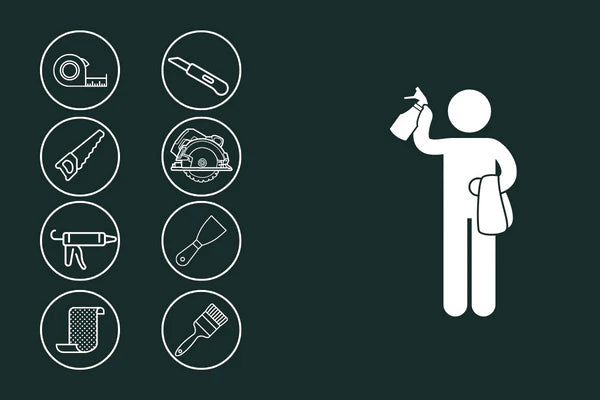
You may need the following to install your panels.
- Tape measure
- Stanley Knife or Utility knife for longitudinal cuts
- Saw (hand saw , circular saw or Jigsaw all with fine teeth blades ) for cuts across the profile design
- detergent
- Adhesive. We suggest using Liquid nail adhesive you can get from this link HomeDepot or Amazon
- waterproof silicon sealant if you are installing bathroom you can get from this link HomeDepot or Amazon
Once ready to start wipe the area clean with a cleaner to remove dirt, dust and debris.
Measure twice, cut once
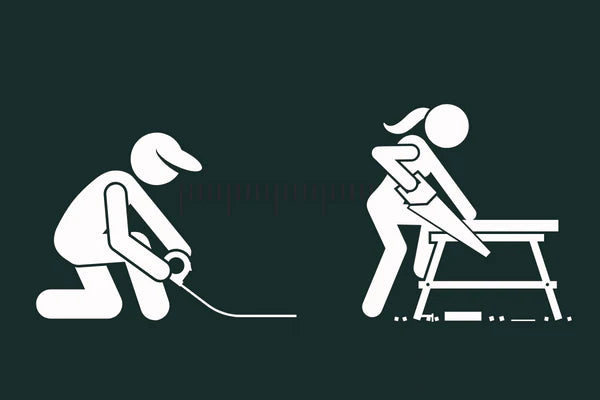
Measure & Cut
Measure your available space and strategize the positioning and orientation for installing your panel.
Cut your panel to size. Perform this task on a sturdy surface to guarantee a precise and neat edge. Use a Stanley knife if the edges are within the flexible part of the panel; otherwise, employ a hand saw or electric saw.
Check your panel fits the space before moving to the next step.
Putting your panels on
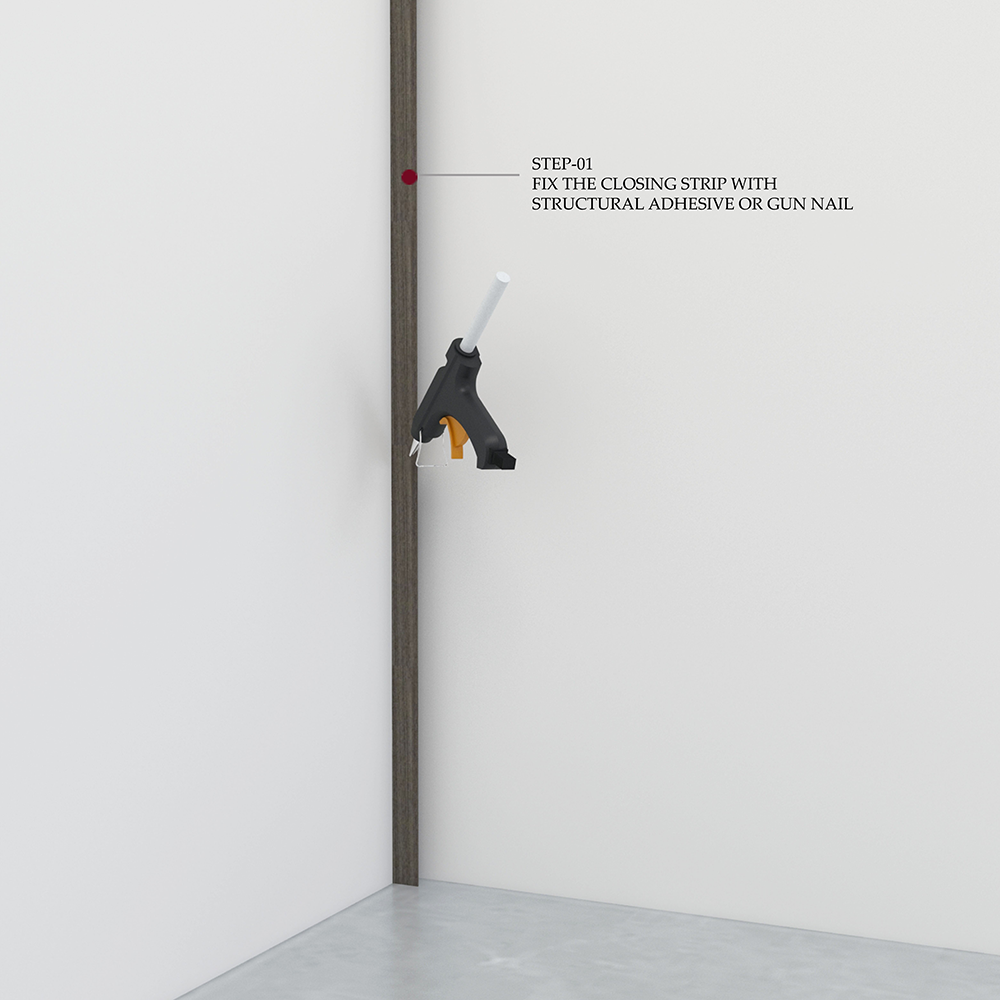
Adhesive & Application
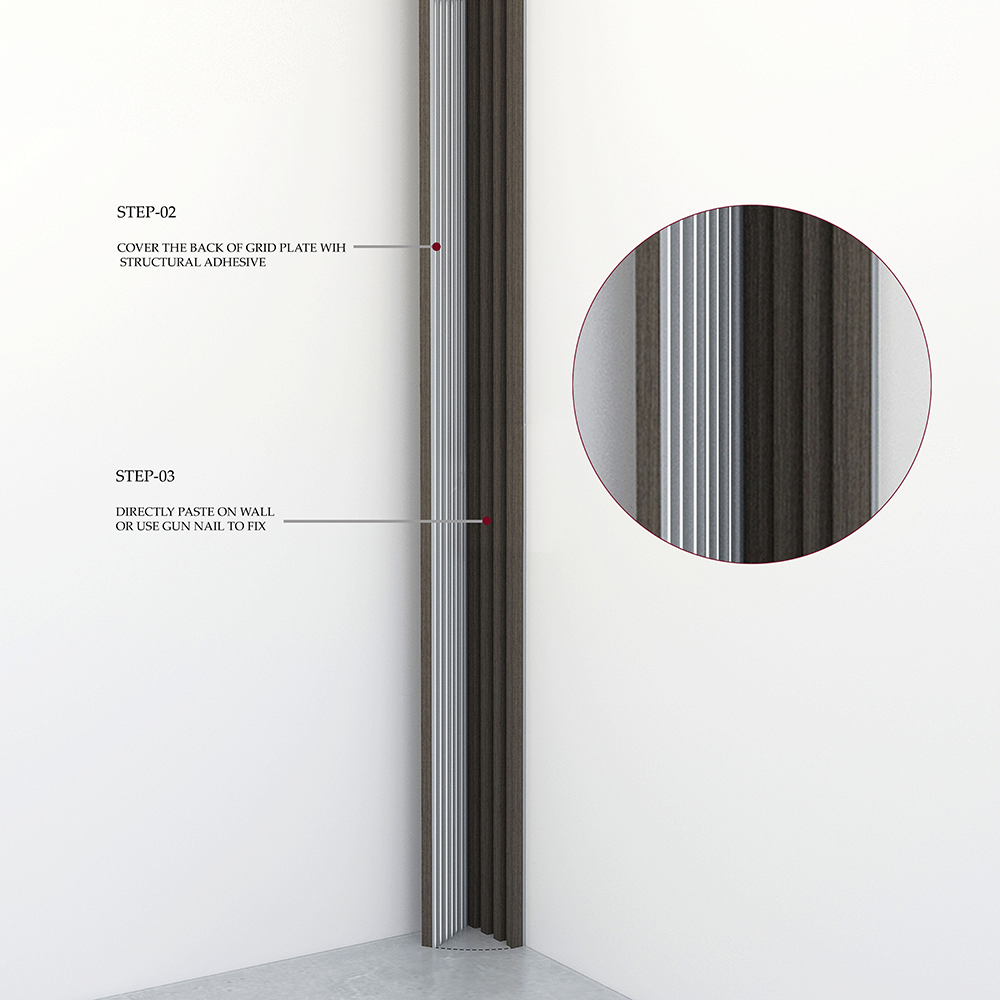
Apply Adhesive. For a secure attachment, we recommend using a PVC adhesive like Liquid Nails. Apply the adhesive in a wave pattern at consistent intervals on the back of the panel to ensure adequate coverage. If the wall surface is uneven, apply additional adhesive.
Apply your panel to the surface. apply pressure on the panel to ensure even spreading of the glue. Alternatively, use double-sided tape in multiple areas on the back of the panel to avoid the need to hold it in place for a few minutes for the glue to adhere. Remember to measure your space, plan the placement, and determine the direction for installing the panel.
accessories
fit the panels together
After installing the first piece, simply slide the second one into the groove. This tongue-and-groove system ensures effortless and precise installation.
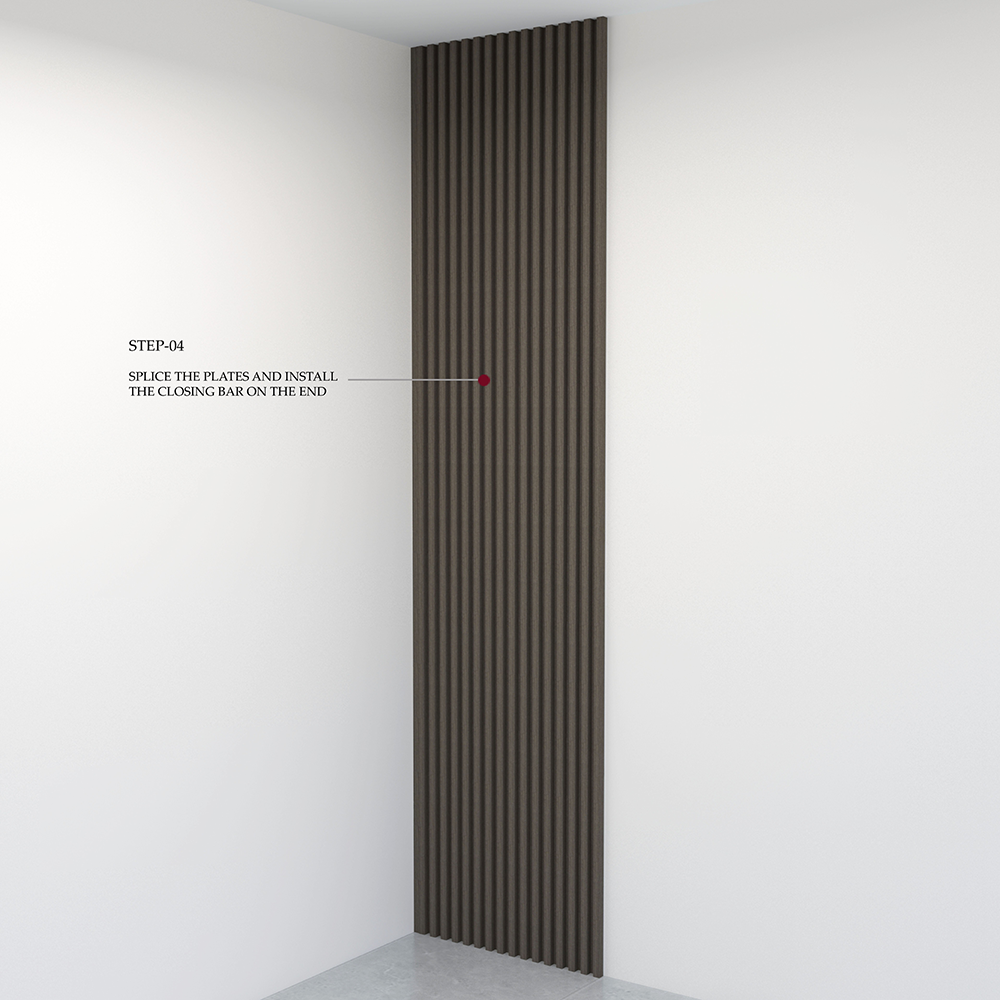
complete the panel
continue wall
Apply. the second wall panel in the same manner as the first panel, inserting it as before. Feel free to continue your design in any way you prefer.
Custom. the panels by cutting them to your desired size, ensuring you order the correct amount of connections needed for your project.
sit back
you did wonderful job


